As the tilte say, now you can download the preset and tutorial in pdf version, in english and italian.
You can find the files HERE or in the tutorial article.
And this is an example video created with my preset.
As the tilte say, now you can download the preset and tutorial in pdf version, in english and italian.
You can find the files HERE or in the tutorial article.
And this is an example video created with my preset.
Thanks to Maarten Vissen for this useful video.

If you need a book with a curved spine on the hard cover, just add an FFD deformer as a child of the Cover Base object and deform it. Don’t forget to increase the number of X Segments of the Cover Base object.

If you need a book with a custom pages, for example with rounded corners or with thickness and so on, just follow these steps:
1.

Go to the Layer Manager and make the hidden layer visible.
2.

Create your own geometry for the page (with rounded corner, with thickness, …) and make it child of the Piano geometry. Adjust the position and the dimension (depend on your poligon).
3. Now disable the Piano geometry.
4. Return on the Layer Manager and hide the layer again.
5. Duplicate the page.
6. Finish.
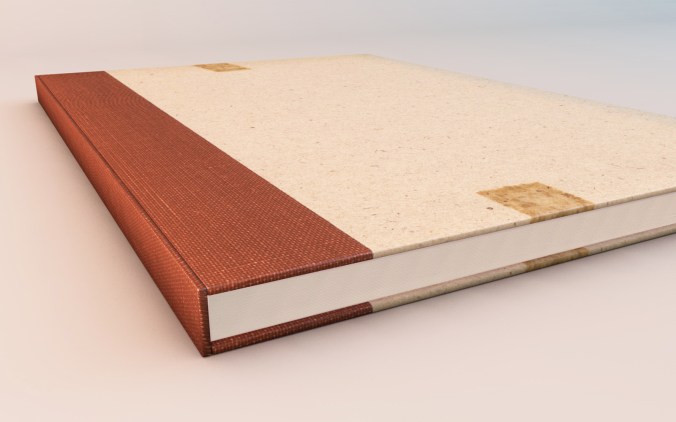
The Realbook (v.2.2 and above) includes the hardcover that can be easily modified parametrically. In this sense it should be seen the choose of the three cubes for realize it. In the same prospective I realized the flat projection that follow the front and back cover pages. Apply two images to the hardcover is a joke, but in the border it is not possible to have any detailed texturing. if you want to use an UVW mapping on it you need to manipulate a little bit the setup.
You can obtain a perfect texturing and also you can manipulate the shape of the hardcover. Just, after you have chosen all the parameters referring to the book dimension (number of pages included) make a copy of the Cover Base, Cover Front and Cover Post, make them editable and child of the source cubes like you can see in the screen below.

Don’t forget to disable the parents.
Now you can modify the three model parts and create you own material.
Create your object and make it child of the page… it will follow the page.
In this video the scale of the objects are driven by the Turn Page value.
To obtain this result you need to follow these steps:
First add a Null object and make it child of the interest page.
Reset the coordinate of that Null added.
Open the page using the control of the preset so you can see and manage the position of the Null on the page using its X and Z coordinates.
Add your own object under the Null and reset its coordinates, so adjust the Y coordinate to make the object settled on the page.
If you want to modify the position on the page use only the null coordinates.
At this point the object will follow the page turning but it will be always visible, so It needs to be scaled down when the page is not in the expose position. You could keyframe the scale of the null manually or you could use XPresso to drive the scale value by the turn value.


After a long period of inactivity, I resumed putting hands on C4D, and the first concrete approach came about thanks to this fantastic tutorial (see below). The guys are really good, but unfortunately almost all video tutorials are for Houdini.
Now, in the project file of the PopUp Book Tutorial you find a pdf that contains the written solution using the mathematic notation.
If there is some request I can think to add better figures for better understanding.
Hope you enjoy.
https://giannilorusso.wordpress.com/2012/10/16/popup-book-mathematical-solution/
